On Smappen, you have 3 ways to share a map:
- Share in view-only mode
- Invite collaborators (edit access)
- Embed the map on a website
👉 By default, a map is private, even for people in your company.
The lock icon at the top right confirms this. ![]()
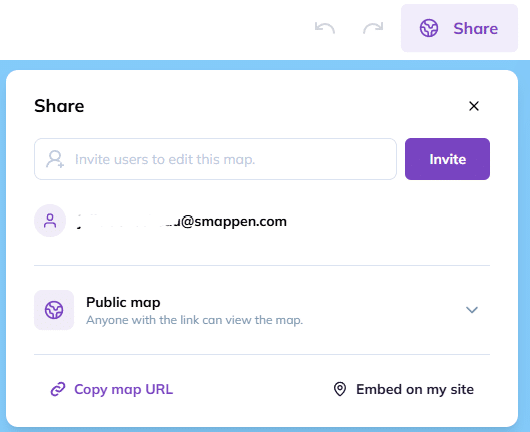
To share a map, click “Share”.
The different options: #
1. Share a map (view-only) #
- Click “Private map”
- Switch to “Public map”
- Click “Copy map URL”
- Send the link to the relevant people 👉 Anyone with the link can view the map only (no editing).
Good to know:
- Only people with the link can access the map
- Data access depends on their Smappen plan:
- With a paid plan: access to data (population, companies, etc.)
- Without a plan: access to free data only
- Imported data is visible but cannot be edited or exported
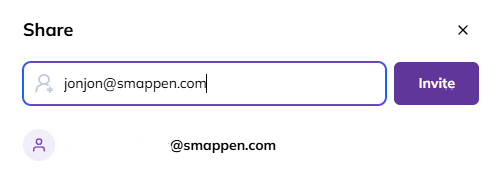
2. Invite collaborators (edit access) #
- Add the users’ email addresses
- Click “Invite”
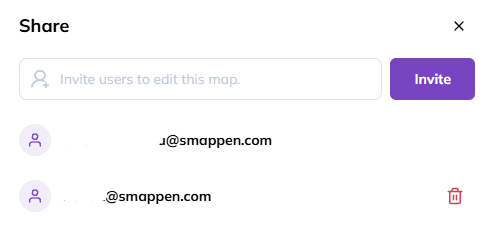
👉 Collaborators can edit the map.
Good to know:
- If they don’t have an account, they’ll receive an email to create one
- The map will appear in their account with access to its data depending on their plan
- Collaborators have the same rights as you (including inviting others)
- Only users with a paid plan can invite collaborators
- They can duplicate the map to work without affecting the original
- To remove access: click the trash icon
3. Embed the map on a website #
- Set the map to Public
- Click “Embed on my site”
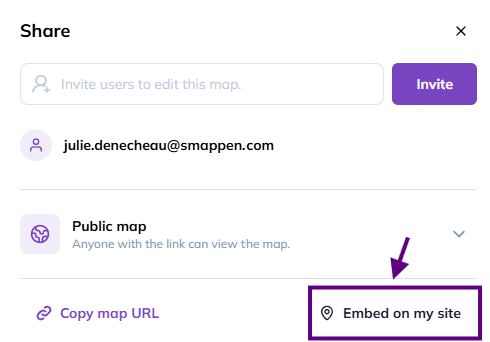
- Copy the code and add it to your website 👉 The embedded map updates automatically.
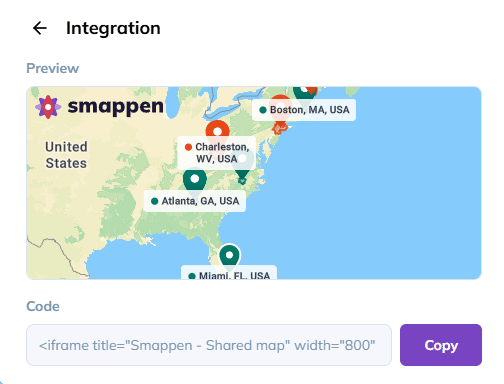
To better understand the integration above, you can compare it with our test map.
What is visible:
- Map areas
- Markers and names
- Real-time updates (add/edit/delete areas)
What is not visible:
- Your folders
- Area settings
- Analytics data (population, companies, imported data, etc.)
- Hidden or deleted areas
To go further: